
 With the rain and the colder weather this weekend, we skipped our regular fun ventures out with the kids, and spent a cozy weekend at home. I wound up doing a bunch of baking, and our house constantly smelled like a pastry shop. Yum! I have to admit the kids had dessert for dinner tonight. And so did I. And it felt good.. I ran out of my staple einkorn wheat flour, and figured – Italian almond cookies! I had some left over egg whites from making frosting for Chocolate Einkorn Cupcakes yesterday, and the rest of the entire five ingredients. That’s how the simple almond cakelettes made their appearance in my weekend patisserie.
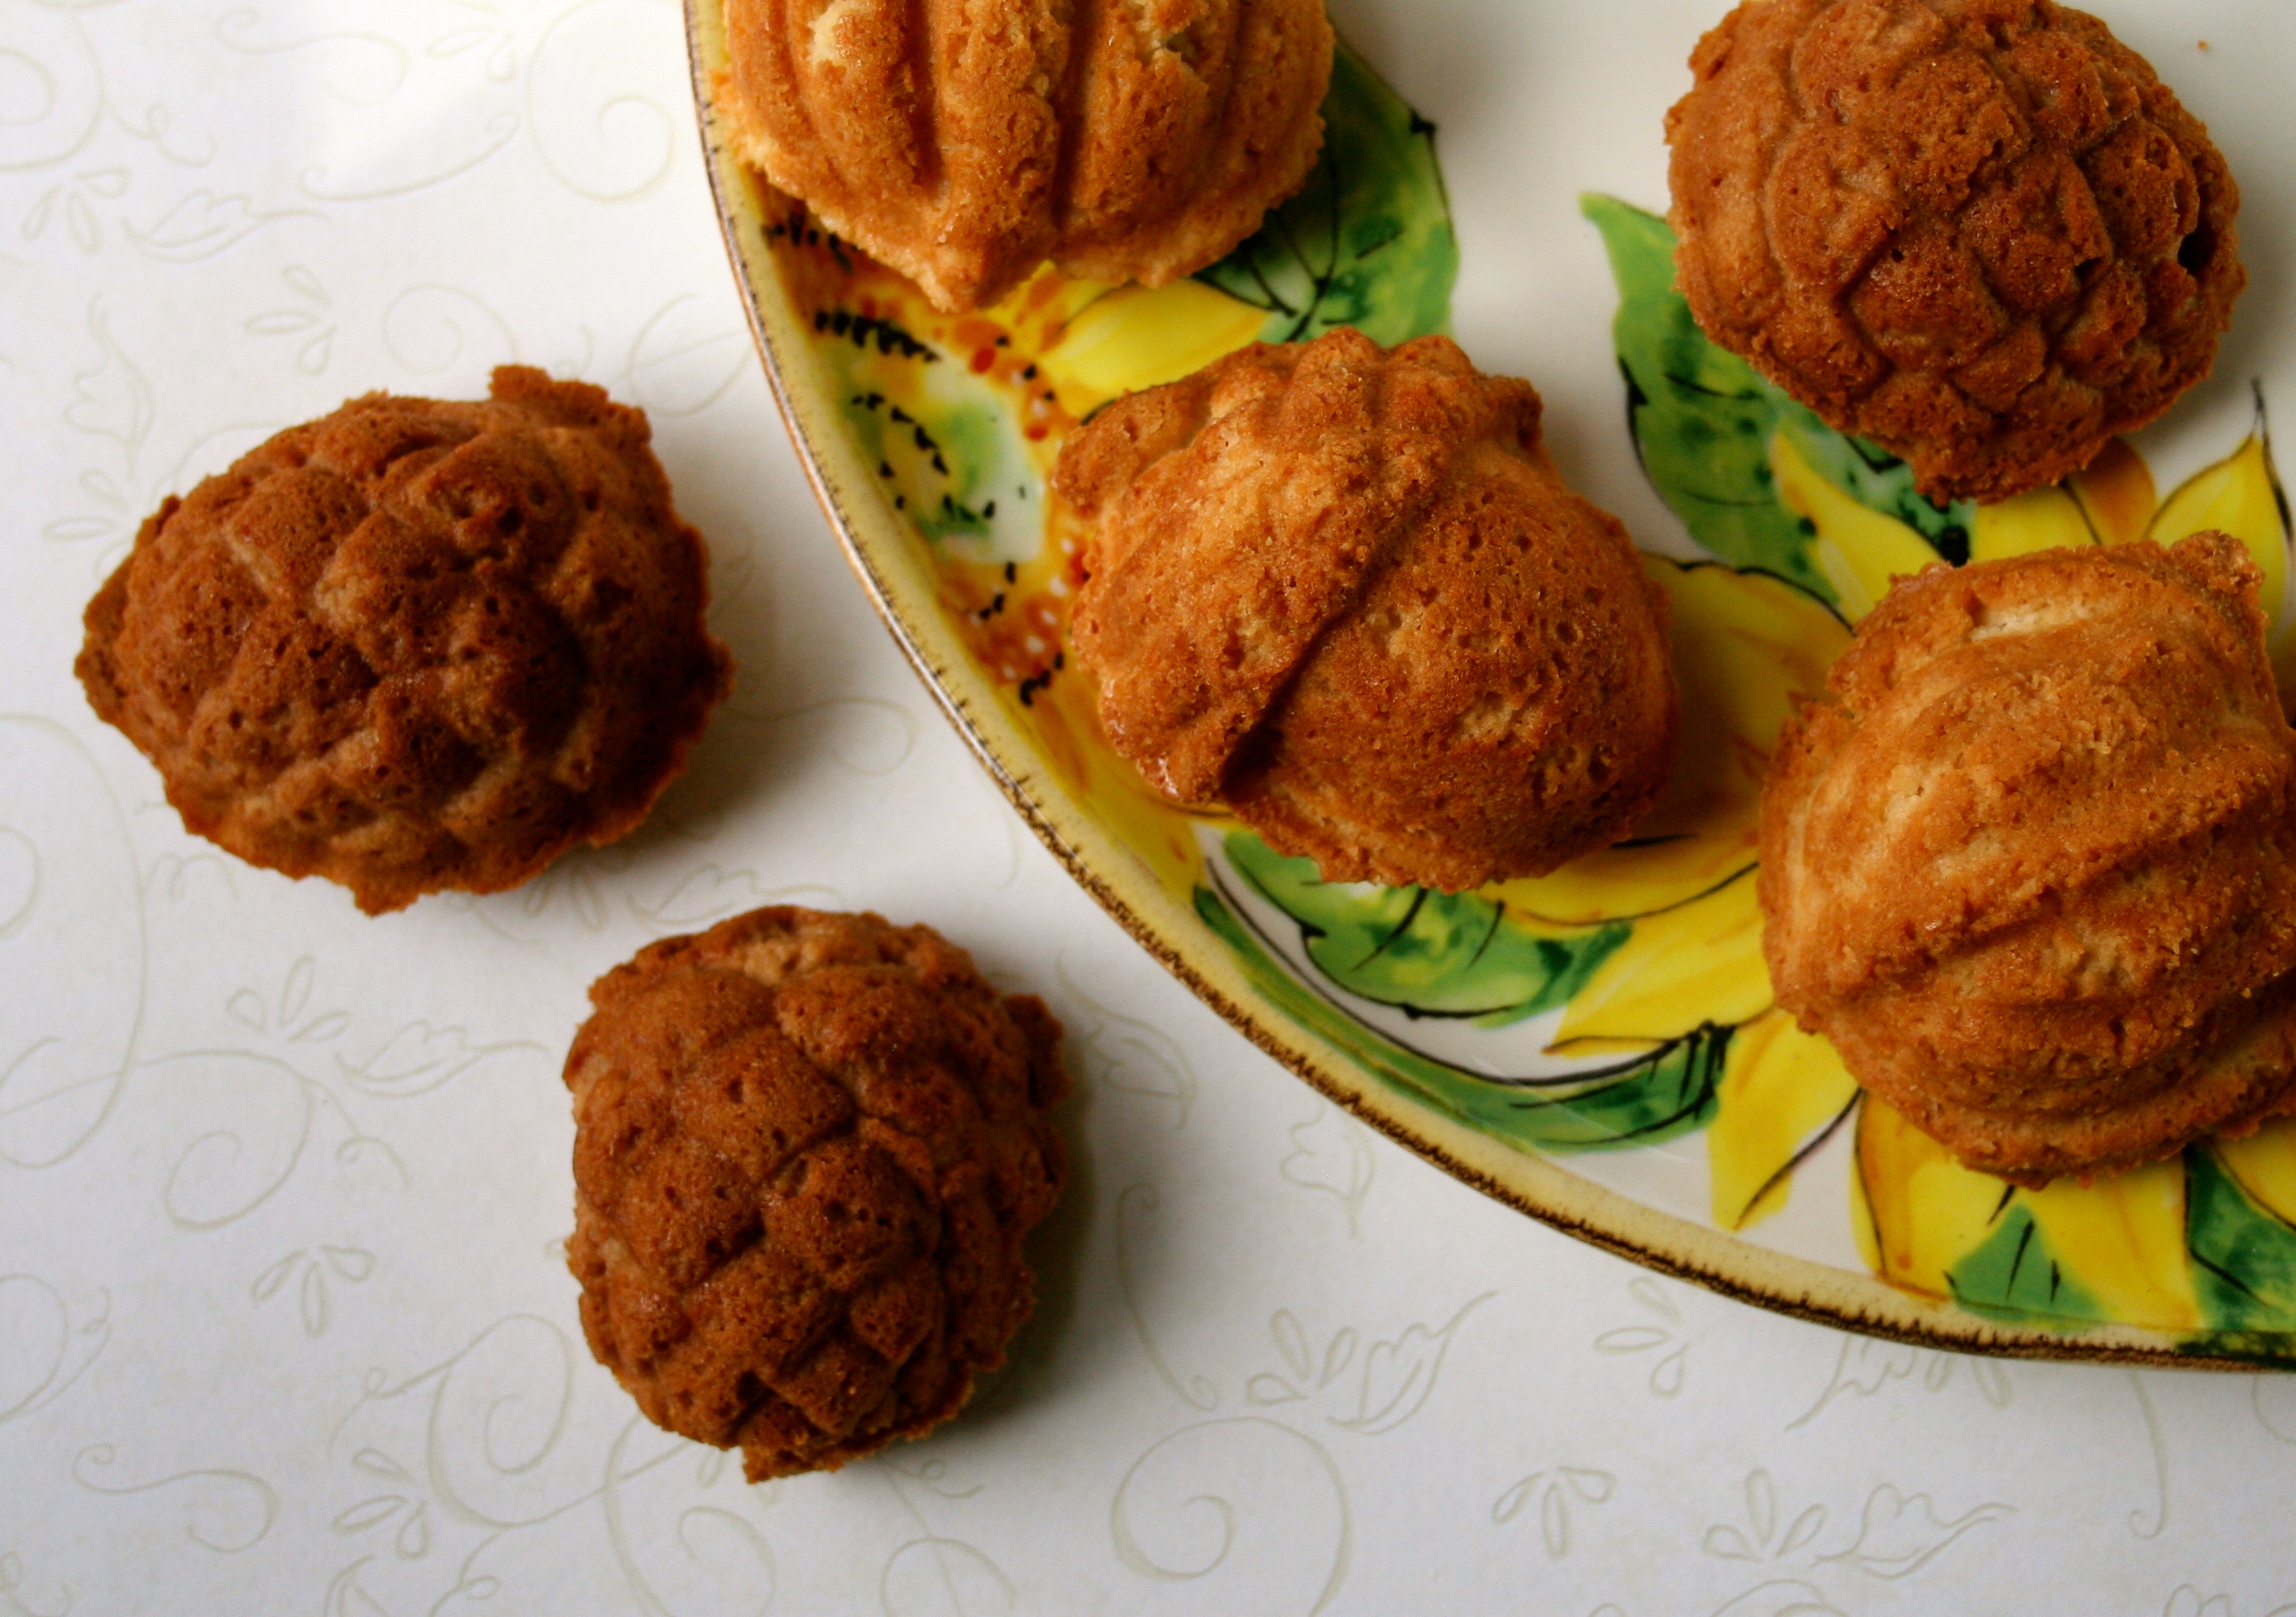
I get this almond flour on Amazon, and the idea of autumn shaped cakelettes came from me discovering this autumn pan in a pile of ‘barely ever used bakeware’ in my basement. It worked out great, and my toddlers had a lot of fun dipping acorns and pine cones in their milk.
- 3 cups blanched almond flour
- 2/3 cup raw cane sugar
- 3 egg whites
- 1/4 teaspoon fine sea salt
- 1/2 teaspoon vanilla extract
- 2 drops of almond extract (optional)
- Butter, or [url href=”https://www.beetsandbones.com/how-to-make-clarified-butter-and-ghee/” target=”_blank” title=”How to Make Clarified Butter and Ghee in Slow Cooker”]ghee[/url] for greasing the bake ware
- Preheat the oven to 325ºF.
- Combine almond flour and sugar in a large bowl.
- In a separate smaller bowl, whip egg whites, salt, vanilla and almond extract for a few minutes.
- Fold egg white mixture into the almond/sugar bowl, and mix well. I use my hands to make it faster, but a spoon would work as well.
- Grease the cakelette form thoroughly, then generously sprinkle with almond flour. Fill the shapes 3/4 to allow for batter expansion.
- Bake for 30 minutes, cool slightly and remove the shapes from the form.


