
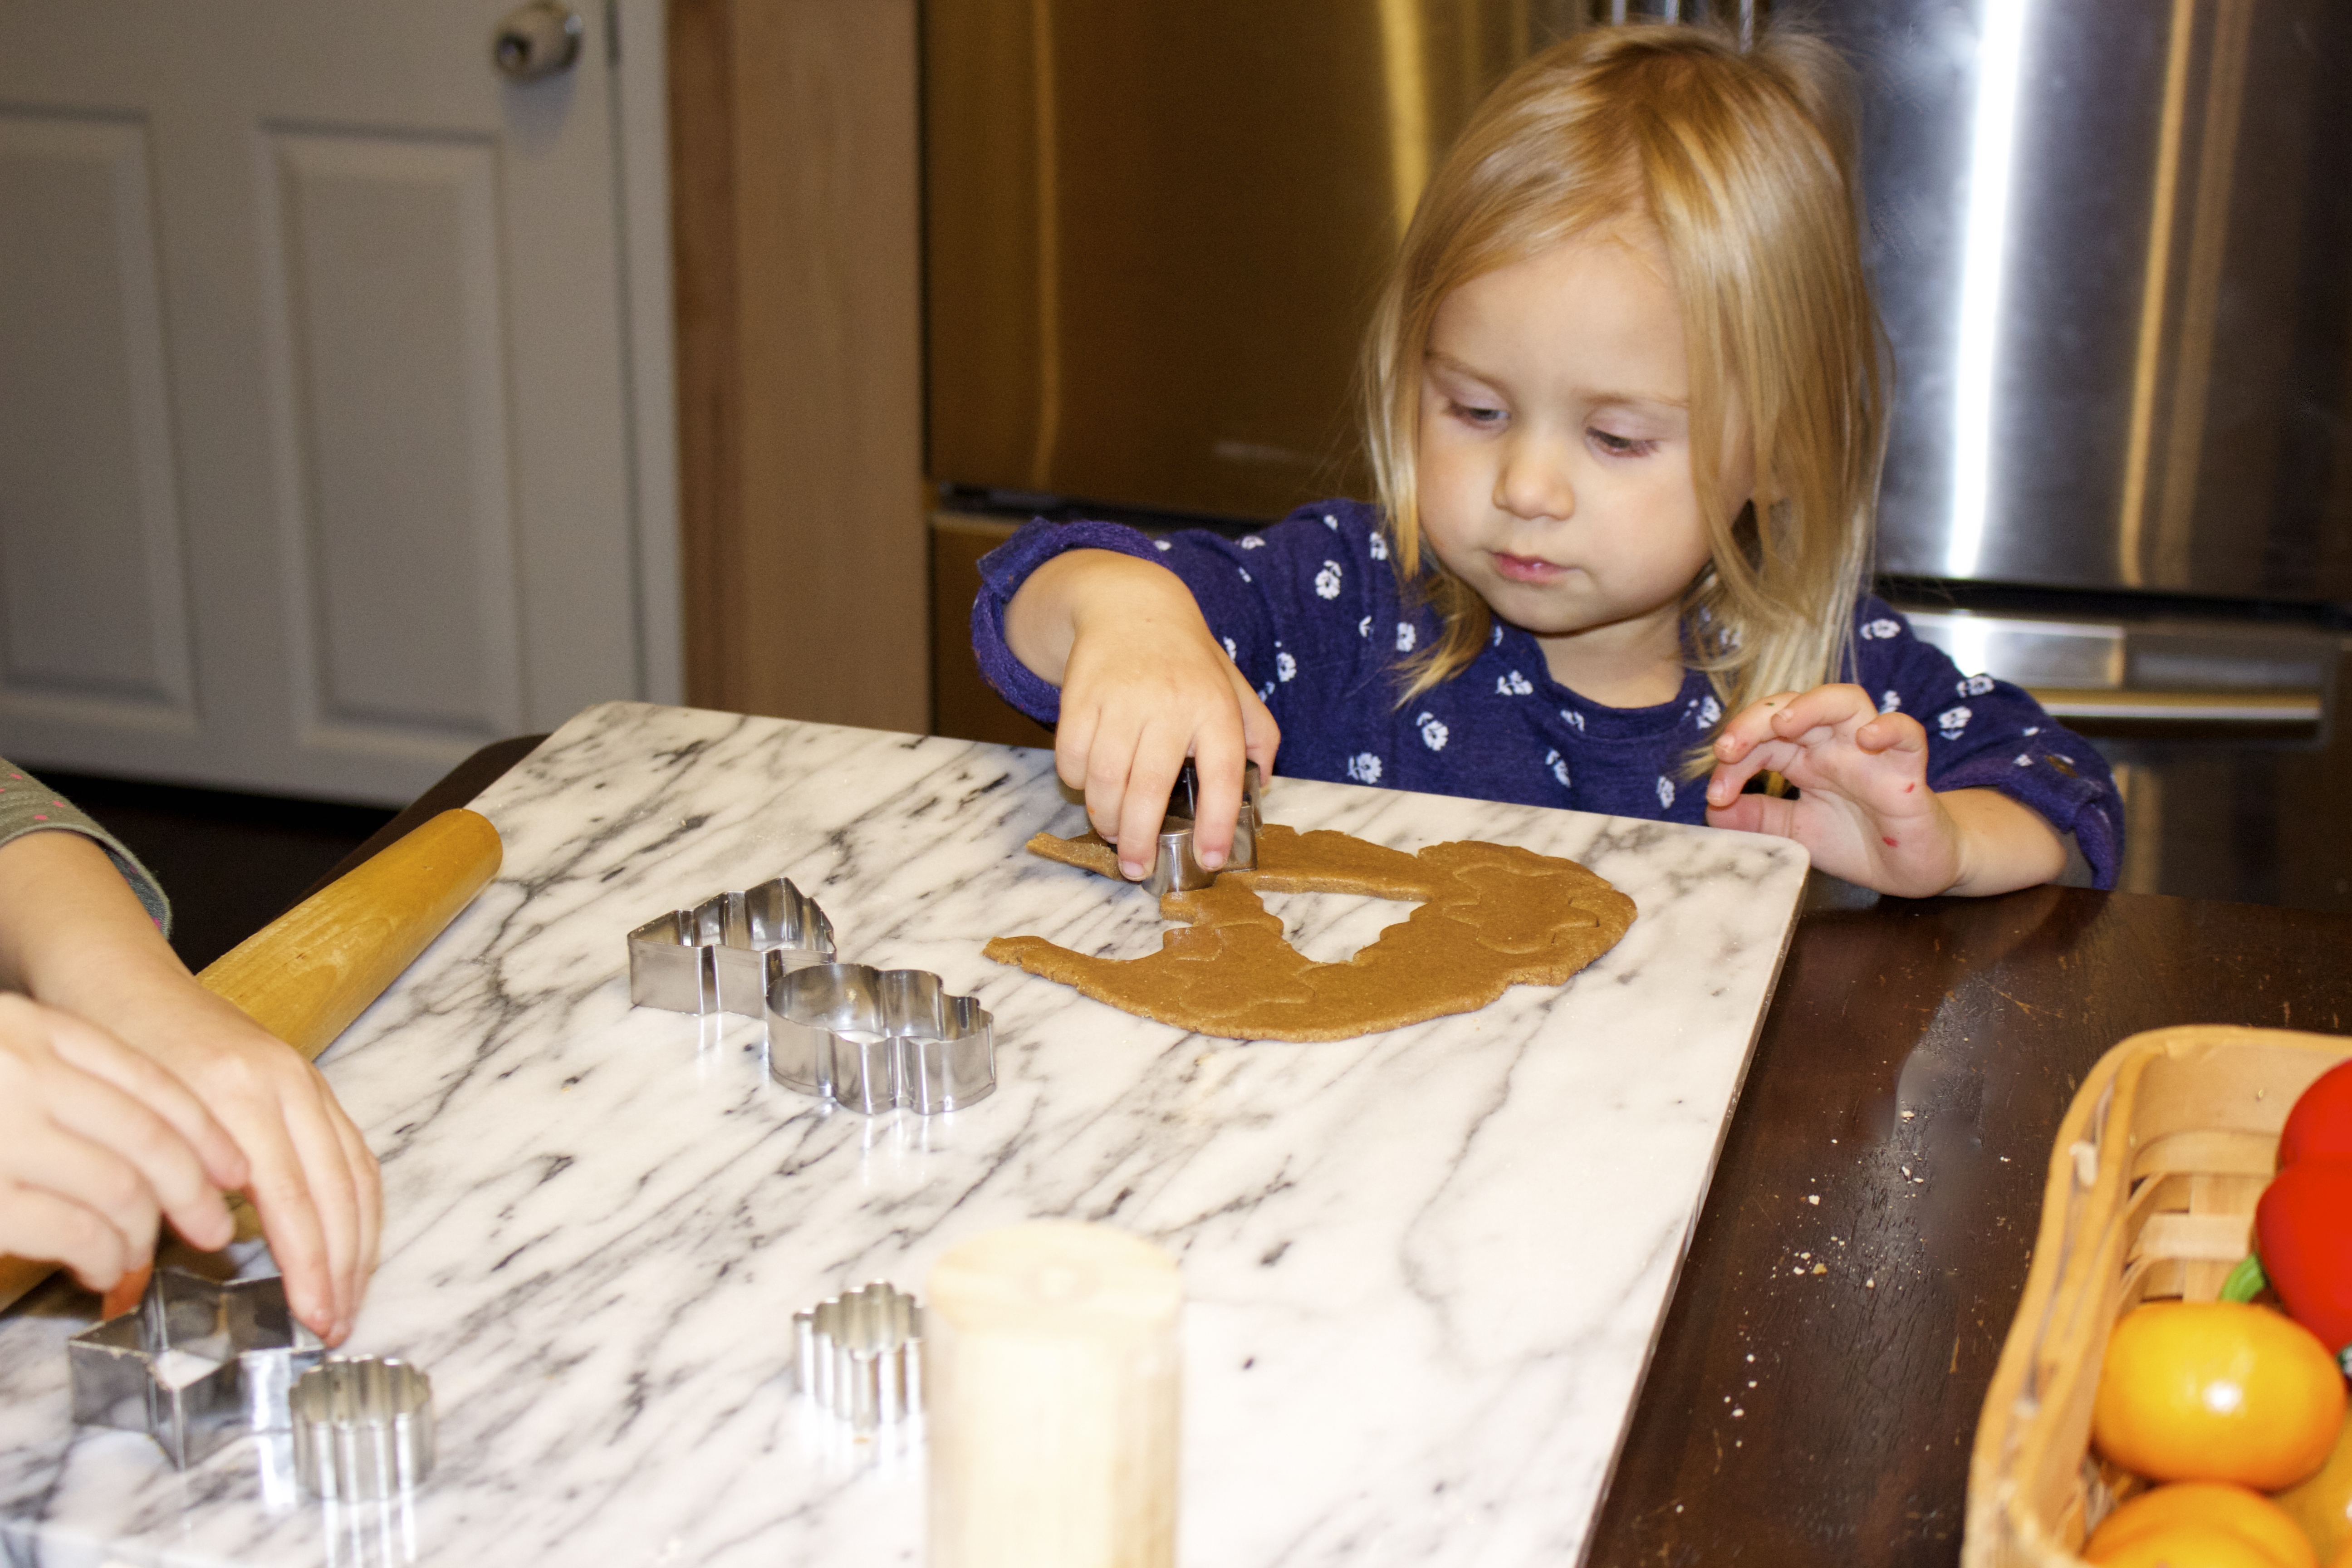
My kids are still silly little tykes (2.5 and 4) but they are at the point where they are very interested in helping me make my sprouted spelt sugar cookies, which I find absolutely endearing. Actually, when I pictured having kids way before I had them, I imagined making cookies with them so maybe that’s why the process is so much more special to me. They are quite proficient with play dough and when they get the job of cutting cookies, they get very excited.
 My recipe is pretty basic, I just make cookie dough a little less sweet so that when I add the icing (which is impossible to make less sweet) – they are just right. I use sprouted spelt or einkorn flour, which I make myself using these steps, but you can buy it already sprouted at health food stores, or on Amazon. This post touches on why sprouted flour is beneficial to your health.
I make royal icing, which I think is easy to make and to work with, and holds the shape really well. For colors, I use things I already have on hand, in this case I used beet juice to make the red color, and chlorophyll extract, which we use as a supplement sometimes, or to add color to homemade syrups or kombucha. Whole Foods sells these natural food dyes, but they are very expensive considering how fast you go through them. I also always encourage you to use organic ingredients, and raw pasture raised dairy.
To make beet juice – chop quarter of a raw beet in a small food processor, or grate by hand. Then squeeze the juice by pressing though a fine strainer. Start with a teaspoon when the icing is getting mixed, then add more for deeper color as you see fit. It will not add beet flavor to your icing, just color. For green icing, start with a few drops of chlorophyll, and add more until you like the color. I heard that you can also use spinach juice or matcha tea powder to make green food coloring, but haven’t tried them myself yet.
- [i]MEDIUM BOWL[/i]
- 3 cups sprouted spelt or einkorn flour, plus extra for dusting or adding if dough is too wet
- 1/2 teaspoon fine sea salt, or Himalayan salt
- 1/2 teaspoon baking soda
- [i]KITCHENAID MIXER[/i]
- 1/2 cup sour cream
- 1/2 cup butter
- 3/4 cup sugar, preferably unrefined
- 1 egg from pasture raised chicken
- 1 teaspoon vanilla
- In a medium bowl, mix cups of flour, 1/2 tsp salt and 1/2 tsp soda. Try to sift the flour to get more ‘airy’ texture.
- In a KitchenAid mixer, or a food processor, mix 1/2 cup sour cream, 1/2 cup butter and 3/4 cup sugar until smooth.
- Add 1 egg and a teaspoon of vanilla, mix well.
- Add flour mixture to the KitchenAid bowl, and mix everything using your hand. You can use a spoon or even a dough hook, but I think it’s easier to determine if more flour is needed if when using your hands.
- Mix until the dough forms a nice ball that’s somewhat sticky. If it’s a bit runny, add more flour until the consistency is right. The reason it’s hard to recommend using a very specific amount of flour is because the flour moisture level might differ based on the flour itself, the humidity and temperature of your house, etc.
- Separate the dough in four pieces and place them in the fridge for at least two hours. I have been known to cheat and just stick it in the freezer for 10-15 minutes but it’s more tricky to work with.
- Preheat the oven to 350 F.
- Take one piece of dough out of the fridge, roll it out to about 1/4 inch thick (use parchment paper, it’s easy to pick up the dough) and cut cookies with the shapes you like. If the dough becomes too soft – put it in the freezer for a couple of minutes, then continue. When the dough is cold, it’s easier to work with.
- This amount of dough is enough to make two large sheets of cookies. The number of cookies will vary depending on the size of the shapes you choose.
- Put the cookies on a large cookie sheet, no need to leave much space in between. They will puff up only slightly.
- Bake each sheet 9 minutes for softer, and 12 minutes for crunchy cookies. When you first take them out, they will be a bit soft but will harden to a perfect cookie consistency within 15 minutes.
- Cool before icing.
I have zero skills with applying icing, but royal icing is so easy to make fun patterns. If you get a finer icing tip, you can easily make little works of art! Since this icing is a bit harder, it’s somewhat challenging to use squeeze bottles and I would recommend using a bag. If you prefer to make icing to just spread it on the cookies with a knife – use 3.5 cups of powdered sugar instead of 4.
- 3 egg whites, from local pasture raised chickens. I wouldn’t trust organic brands from most stores, even Whole Foods. Try local farmers markets. If you don’t have access to eggs from farmers you know – go for organic boxed egg whites. Use three ounces.
- 4 cups of powdered sugar. I make it myself from white cane sugar in a coffee grinder, or get Whole Foods brand, it has tapioca starch as an anticaking agent, as opposed to a bunch of weird stuff you would get in conventional brands.
- 2 teaspoons vanilla
- 2 drops of peppermint extract (optional)
- Beat egg whites at high speed until white and frothy, forming peaks. They shouldn’t have any liquid left at all. It would take about 10 minutes.
- Add powdered sugar, 1 cup at a time, and mix until well incorporated before adding the next cup.
- When all the sugar is added, add vanilla and peppermint extract if using.
- Mix everything for 10-15 minutes. It will get beautiful almost pearl like color, and somewhat thick consistency. You want it to be thick in order to harden.
- Transfer the icing to a bag with an icing tip, or you can use [url href=”http://www.surlatable.com/product/PRO-643049/Kuhn+Rikon+Round+Tip+Decorating+Squeeze+Bottle” target=”_blank”]these bottles[/url], which I used to ice the cookies on this post picture.
- Let your imagination guide you!
- The icing will harden within 15 minutes. And after that you can stack the cookies on top of each other.
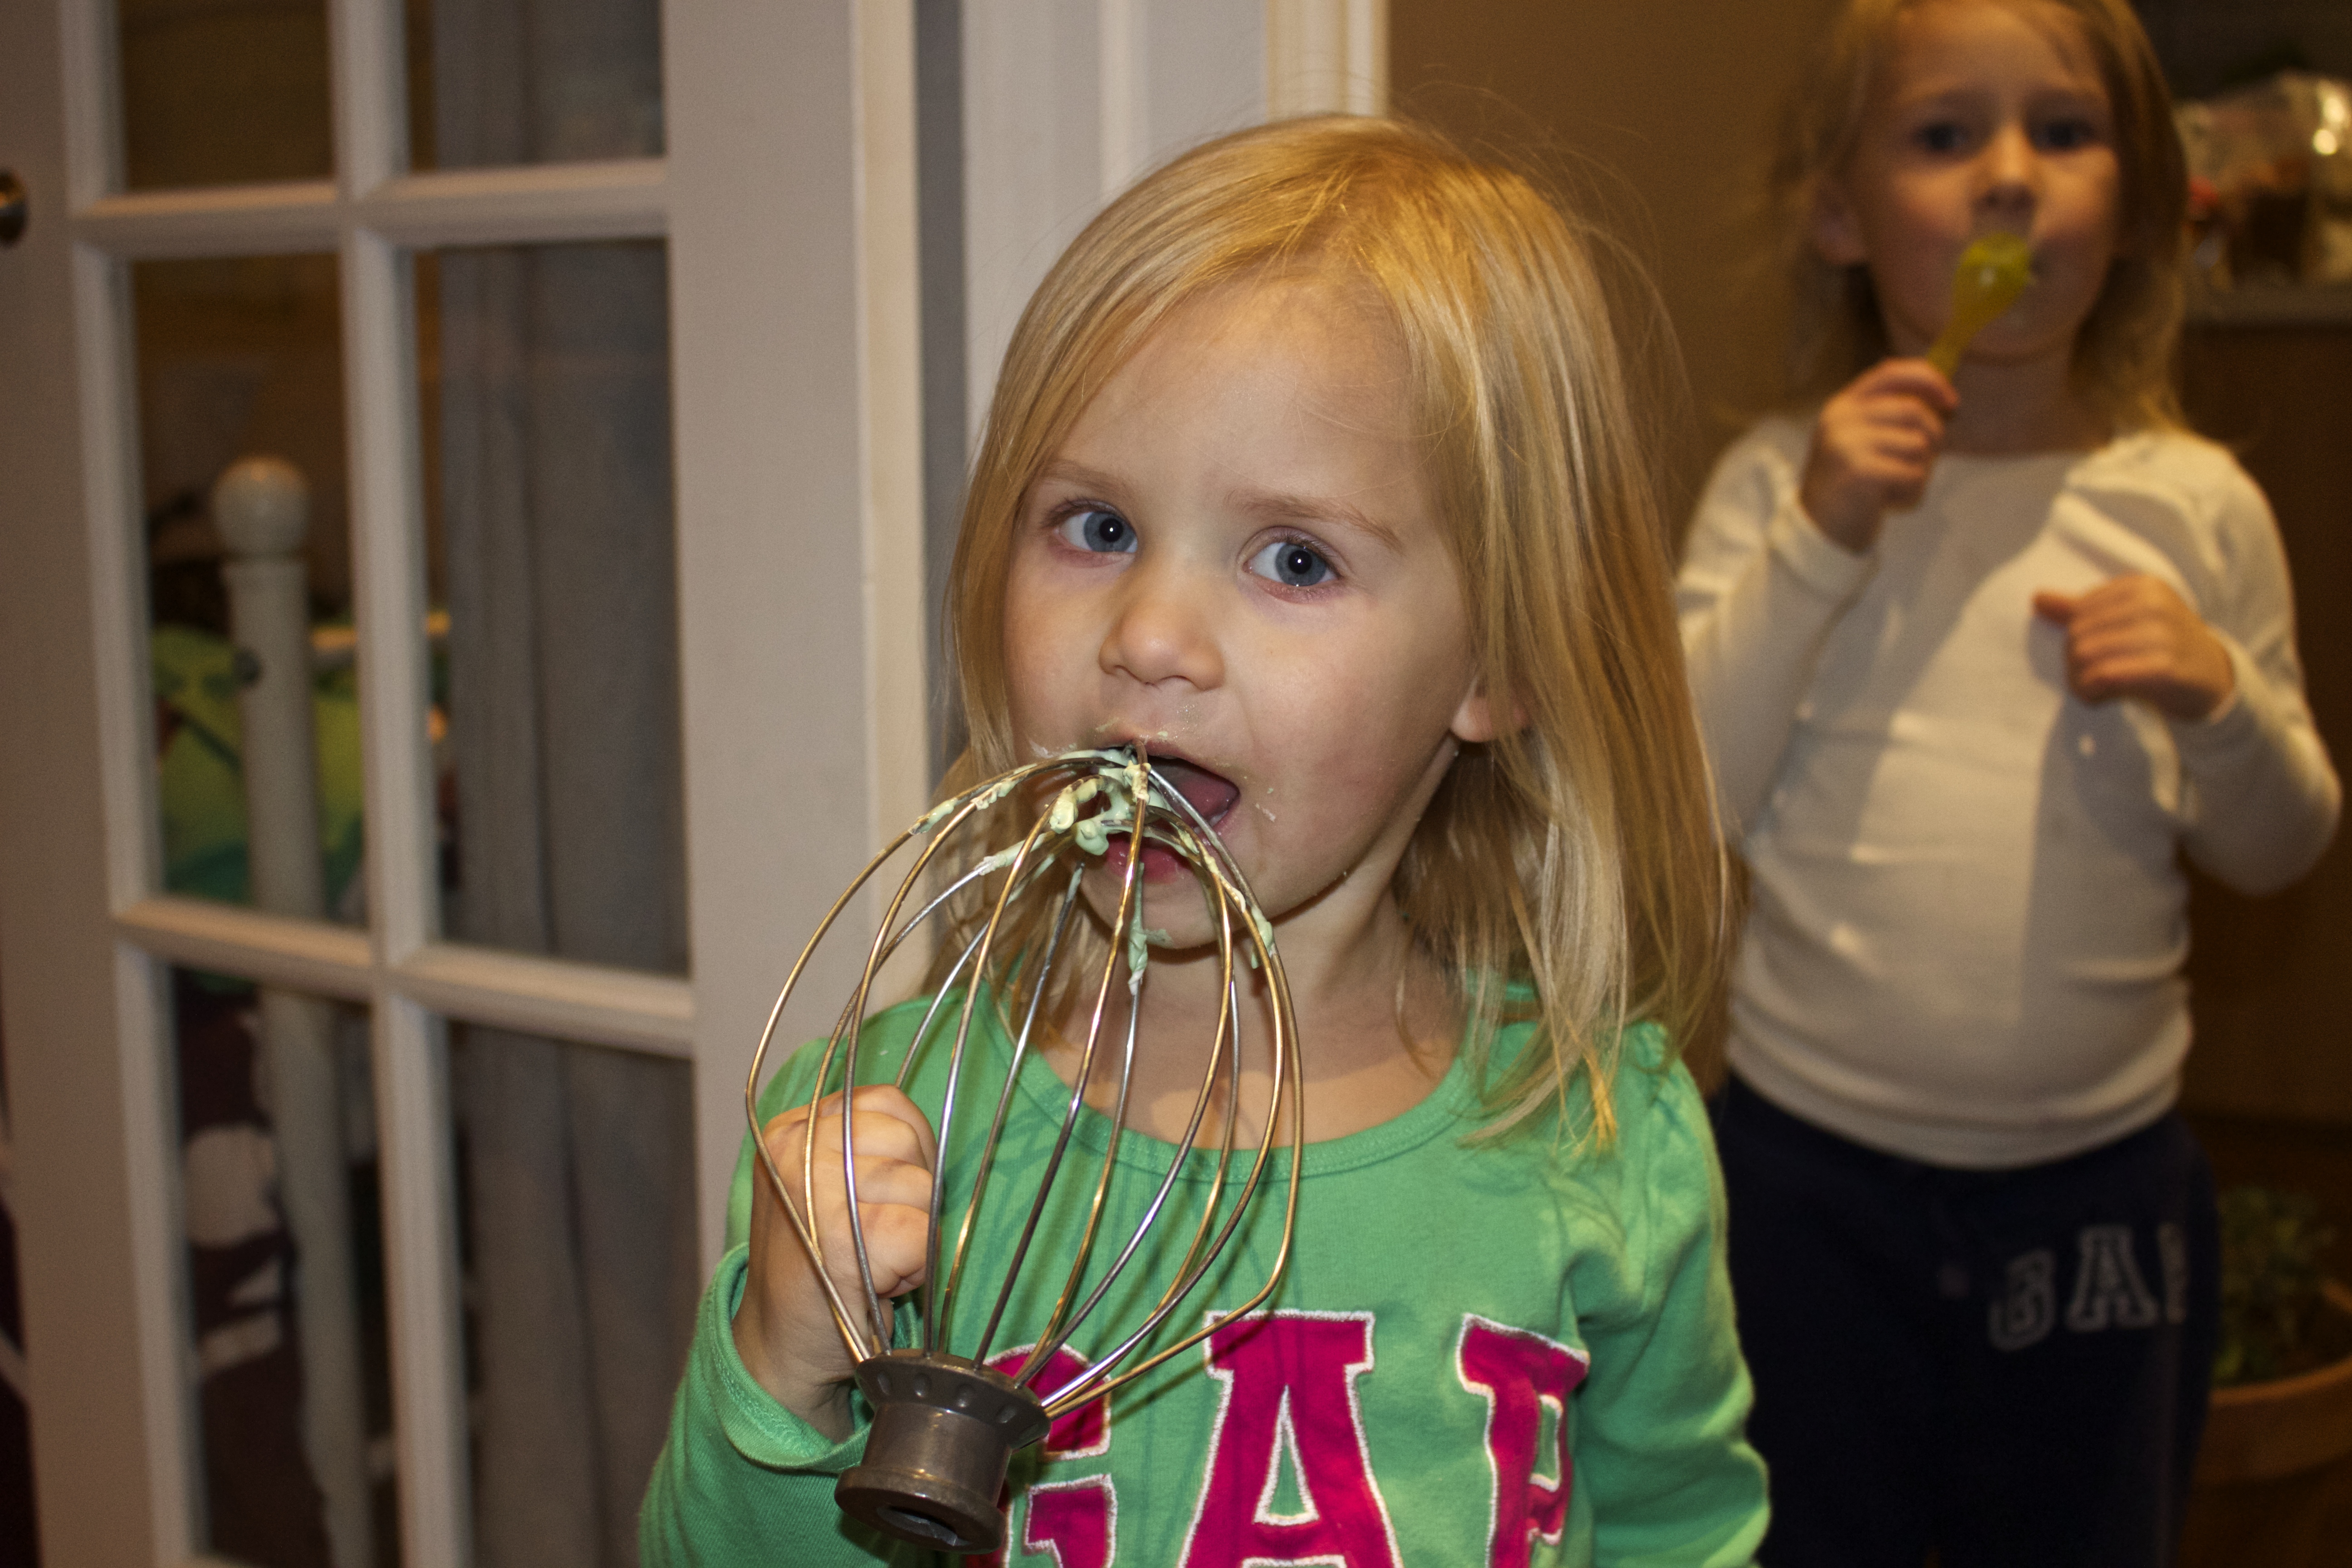
Letting your kids to lick the beaters from the icing will keep them occupied long enough for you to ice your cookies 🙂