

FOOD PHOTOGRAPHY BASICS
I am by no means a pro when it comes to food photography, or any photography for that matter, but I wanted to share a great post about food photography basics that was written by a fellow blogger, chef Andy from Russia, who created this beautiful blog. I am a big fan of his gorgeous photography and positive attitude. With Andy’s permission, I translated his post using the images he created because I love the simplicity of his tutorial. It helped me personally to better understand food photography basics.
There are three integral parts to food photography:
- Presentation and styling
- Photo composition
- Technique
(1) Presentation and styling are obvious – food should look good enough to make your mouth water. It’s helpful to show most of the ingredients that went into a dish, and place focus on the main ingredient. Use spices and sauces to make shots more alive and appetizing. Vegetables, herbs and meat look better if brushed with oil, which gives them shine and pretty reflections.
(2) Composition is not only a placement of an object in the frame, but also building of a whole picture. A picture should tell a story. For example, it would be a shame to photograph pancakes without a side of yummy syrup or pretty berries. Or if you are shooting fries, it comes natural to show a side of ketchup or mustard. Little details like that make a photo interesting and memorable. Again, this might sound obvious but it wasn’t something I used to think about when taking pictures of my recipes.
(3) Technique is something we’ll discuss in more details. You can take excellent photos even with a phone camera, if you follow a few basic steps. And if you have a semi-decent non-professional camera – nothing can stop you from taking photographs like you see in magazines.
[asg-content-box boxcolor=”gray” boxtitle=”” boldtitle=”false” boxexpand=”false” showcontent=”false”]LIGHT[/asg-content-box]
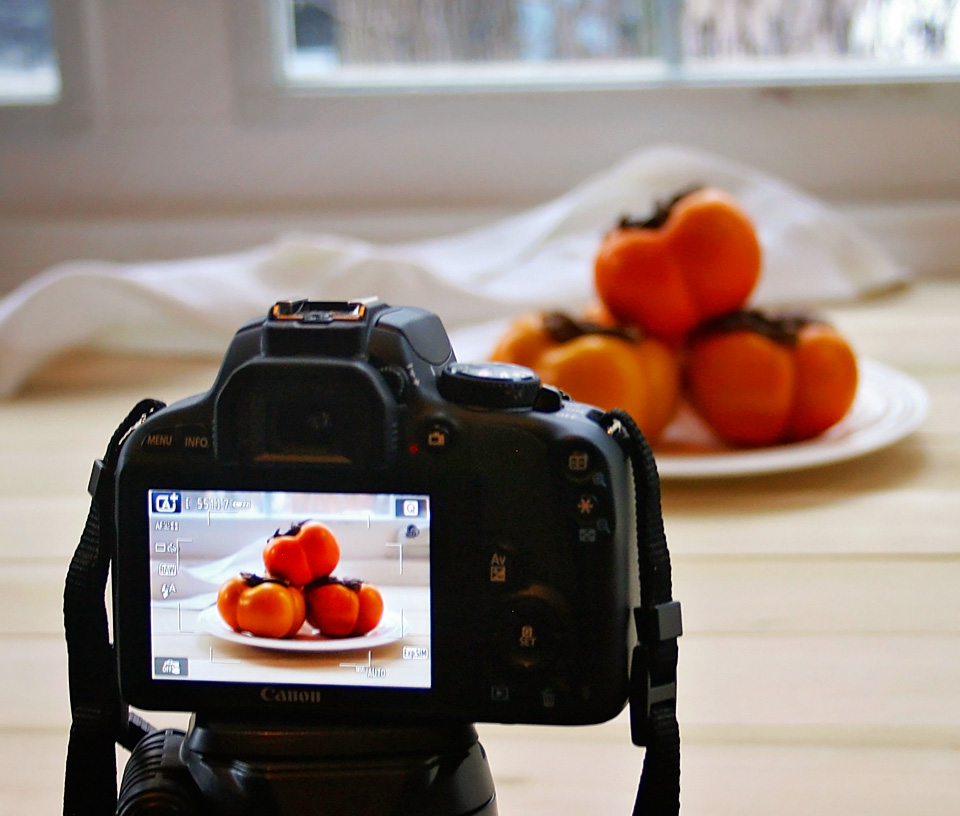
The most important thing is light. In his photographs, Andy exclusively uses natural light from a window. It is the only source that lights objects naturally, doesn’t change colors and is easy to work with. Keep in mind that it’s not necessary for the sun to shine like a spotlight, it is actually better to have it come in from the side. More on that in a minute.
The light can come from different directions: the front, the back and the side.

Like in portrait photography, frontal light (object is between you the the sun) is very beneficial when shooting food, which makes it look interesting and alive. Andy uses such lighting mostly for clear liquids making them lighter, and showing texture and color. Another reason to use frontal light is if your goal is to wash out the background, keeping the colors that are in focus bright. The disadvantage of this technique is the difficulty to achieve desired results without additional reflectors (more on this below).
Most of the times it’s easiest to use a side light source, regardless whether it comes from left or right. Front light is rarely used – it’s too active, leads to overexposure, and creates unnecessary shadows.
TYPES OF LIGHT
Light can be direct and diffused. Imagine if you shine a spotlight directly onto an orange – the main shadow will be very defined, some areas will be too bright (overexposed) and some will stay very dark (underexposed). This happens because direct light is very strong. But if you put a sheet of white paper between the spotlight and the orange – the light will become diffused, shadows softer, and the whole object will be uniformly lit:

The position of the light source doesn’t matter; but it always needs to be diffused! You can use translucent diffusers: regular paper, sheer white fabric, etc. If you are shooting next to a window, you cover the glass with tissue paper or a thin curtain. If you are shooting outside – try to do it in the shade, or using diffusers.
Take a look at these two pictures, one was taken in the direct sun light from the window – sporting strongly defined shadows and unevenly exposed areas. The second one was taken in the same spot, the only variable being a piece of white paper on the window:

REFLECTORS
Using of reflectors is the next step in improving your photographs. They are used – you guessed it – to reflect light and direct it onto the object. Basically, if we light it more evenly all around, the shadows and colors will be softer, and more attractive to the viewer. Here Andy wrapped cardboard with white paper, easy and cheap!

If you are shooting food more spontaneously, use whatever is on hand – white paper, restaurant menus, white boxes, etc. White is ideal, but even lighter colored items will work. You can use from one to three reflectors, Andy normally uses one, placing it across from the light source, close to the object at an angle that directs the light where it needs to go.

Using reflectors is helpful when shooting dishes like salads and pasta that are ‘patchy’ in the sense that they have a lot of uneven areas – shaded and lighted. You can also use reflectors with the side light.

This is what it would look in real life, you can use clothes pins to hold paper wrapped cardboard, easy to store and move if needed. I know you can get real reflectors on Amazon, but why bother if they do the same thing as these homemade guys?

SHOOTING ANGLES
It is typical to shoot food from four angles: 0 degrees (front), 90 degrees (top), 45 (medium) and 10-20 degrees. If you are using a cellphone or a very basic camera, try to shoot from the top. This will allow you to best hide the flaws in quality.

You can use any angle you prefer. For example, pancakes look best when stacked and photographed from the side to show texture and thickness. If you try to capture it from the top angle – it’s just browned circles. On the other hand, if you shoot pizza – do it from the top to let each ingredient shine.
If you are just starting out – try shooting from different angles, not just the one you envisioned in your mind. If you are getting frustrated, change things up, move to a different angle, you might be surprised how different things look when just move the camera just 20 degrees! With time, you will come to automatically know what looks good at what angle.
CAMERA SETTINGS
If you are still reading, you are probably very interested in improving your skills! One thing you can do is to avoid the automatic mode. You’ve probably noticed a little mode dial with different signs – manual, automatic, scene based, etc. When shooting food, Aperture Priority (AV or A) mode is used most frequently. Shutter Priority (TV or S) is less common, and Manual Mode (M) is very rare. The letter abbreviations vary with brands and models, so just take a look at the first page of your manual, or look it up online.

Aperture priority is the mode in which we can tell the camera how much to open or close the diaphragm (the petals in the lens). The numbers start at 1.4 (diaphragm is very open) and go past 16 (very closed). Try to remember it this way: the smaller the F-number is, the smaller the area of focus.

In food photography, those numbers mean how out-of-focus the background objects will be. The more open diaphragm means more blurry objects are that are not included in your depth of field. Here is an example: three paper cups were photographed with the camera focused on the front one. The four shots were taken with AV values of 1.8; 4; 7.1 and 14 with no other changes.

Can you see it? The more open the diaphragm, the smaller your depth of field is (items in focus). And vice versa – the less open diaphragm is, the larger the area in focus is. That’s why 80% of the time, Aperture Priority (AV) is the perfect mode for shooting food! If you are using a cell phone or a cheap camera – you can still achieve these results if you position your main object close to the camera, and the background objects further away.
THE TAKE AWAY from basics of food photography – do not use flash, be mindful of the light, avoid direct light on the objects and remember that the smaller AV values (f-numbers) mean blurrier background, which looks very effective in food photography.
One more note on composition. This applies to any photography or art. Divide your shot into three horizontal and vertical parts, and position your objects along those lines, like this:

Can you see how the jar is positioned along one vertical and one horizontal line? Its center is basically at the intersection of the lines, leaving enough white space to make this picture aesthetically pleasing. It’s believed that such composition is more appealing to the eye, and is easier to position accent objects in a natural way. As you are starting out, remember this little tip. Of course, rules are made to be broken… 🙂
8 comments
This is beyond amazing. Thanks so much for such an amazing resource!
I’m so glad it’s helpful, Allison. It made me understand some things that I was struggling with, without getting into ‘the weeds’. And as soon as I read Andy’s post, I knew I had to share it with others! 🙂
Great tips!! I love the info about light and reflectors. Lighting is my biggest challenge right now, so I will definitely be trying these:)
Thank you, Ginnie! Good light and remembering about composition help to avoid pics like this 🙂 :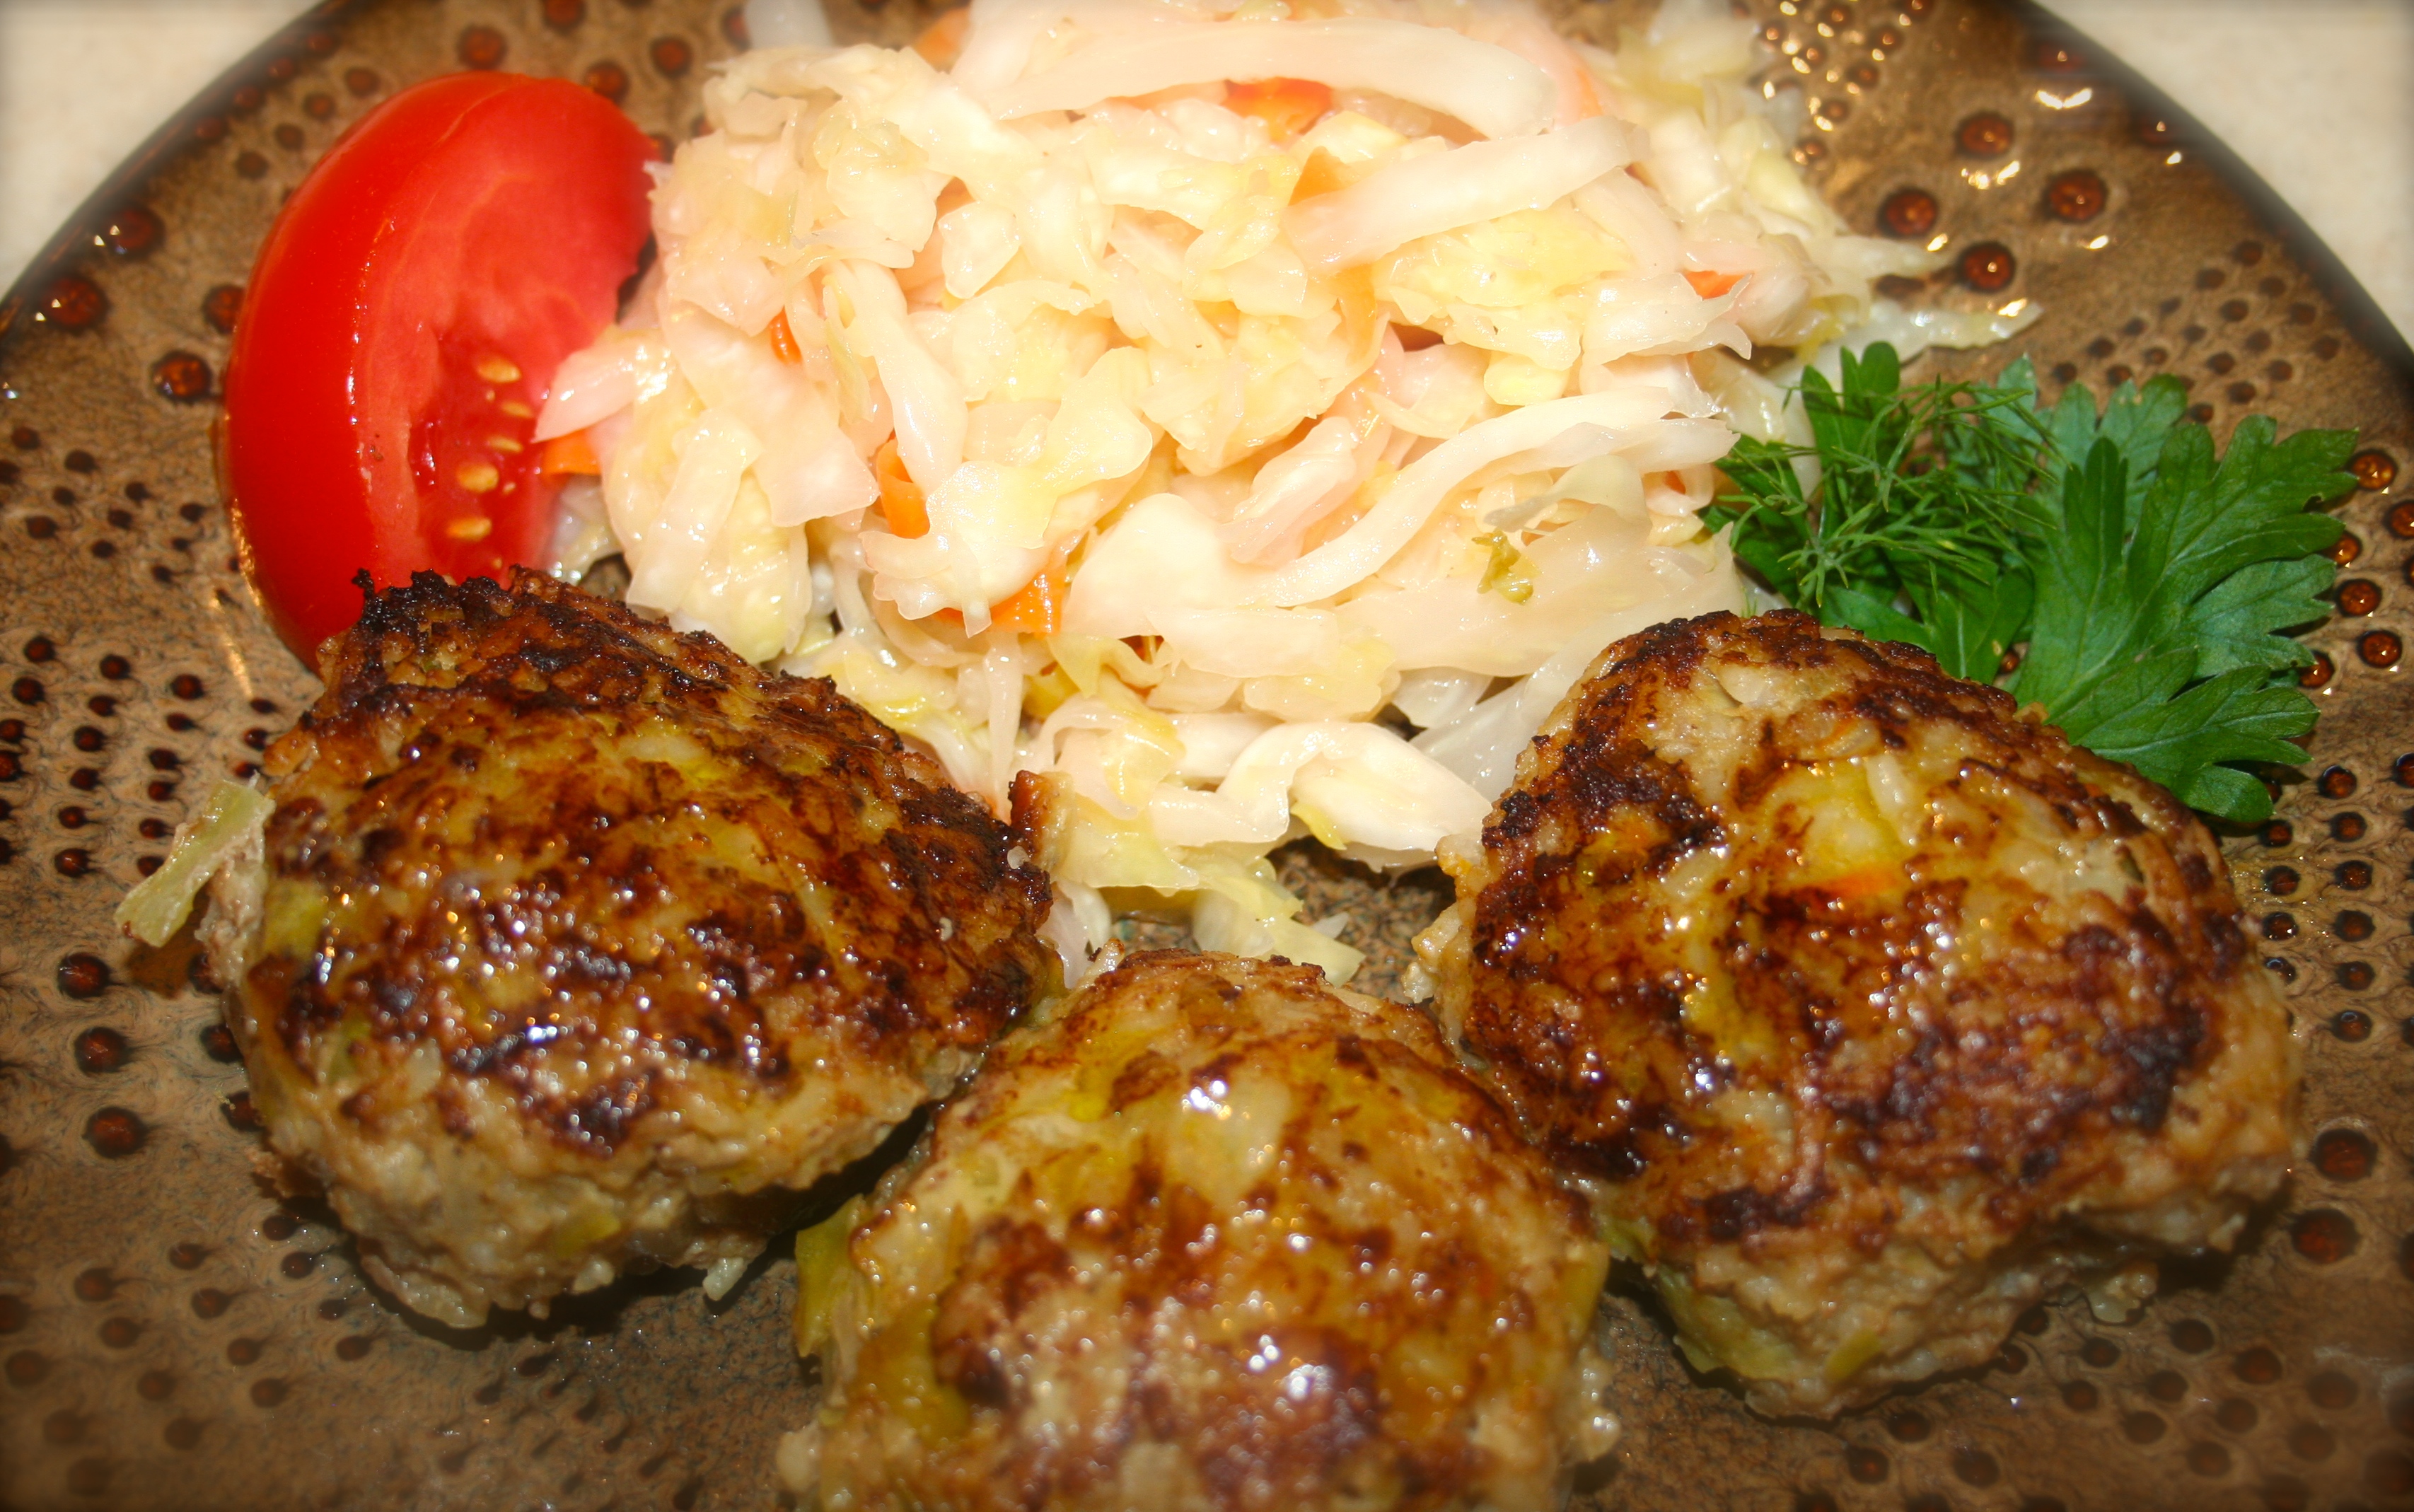
Thank you sooo much for your information!!!
So glad you find it helpful, Dian! 🙂
What a great resource Valeria–thanks so much. I can’t wait to get home and try it all out.
My Godmother is just starting a food writing blog and I’m sure this will be of use to her also.
I love everything on your blog, hoping for new content, very much agree with your blog about, what to eat, who to trust.
Some of your recipes remind me of my Grandma Nonnie, who was born in Czech Republic.